Monday, June 6, 2011

Lamb Gyros


Coming back from Team Trials, Ian's car-ful of people stopped at a diner, somewhere along I-84, and I had some delicious gyros. So delicious that I decided that I had to make some for myself. We stole Ross for the evening, since Sam had a retirement party to attend, and fed him lamb gyros and pitas and we were all pretty happy with how they'd turned out. I made the lamb mixture earlier in the day, and kneaded dough for the pitas. Then when we all got home from the Park-O, it was pretty quick to fry some lamb patties and bake the pitas. We also had fresh greek yogurt from the Greek place, and olives, and feta, all delicious stuff.

Lamb patties:
Made enough for three hungry people, might feed four regular folk
1/2lb lamb - if you can get it ground, great, if it's in chunks, that's fine too
1/4C bulgur wheat, cooked
1 onion, diced
2 cloves garlic, minced
2 tsp kosher salt
2 tsp smoked paprika
1 tbs rosemary
2 tsp marjoram or oregano
Other tasty things are optional.

Slice the lamb chunks against the grain, and then slice those long pieces into little chunks. Put them in a food processor and process until it makes a paste. Put in a big bowl. Put the onion and garlic in a food processor, process that to a paste, and drain the water, squeezing with your hands. Add to the bowl. Add the other stuff. Mix it around. Take a tiny bit and cook in a frying pan, taste, and adjust seasoning.

Let the lamb mixture sit marinating for at least an hour. Then break off pieces with your hands and make little mini hamburgers. Smaller is better, for more texture of crust, but, that also takes longer. Fry in a frying pan, with some oil to lubricate things.

Pitas
Made 8
1-1/4C warm water
1 packet yeast
1tbs sugar
3.5C flour (and more as necessary)
2tsp salt
2 tbs olive oil

Put water and yeast and sugar in a bowl. Stir in flour one cup at a time. After the first cup, add olive oil and salt. Keep adding flour until it's bread-like. Knead for 5-10 minutes. Let it rise in a greased bowl for minimum 1.5hrs. Cut into 8 pieces, roll into round pitas, cook for 10-15min (?) at 400F. Take out of the oven before they get brown.

Tzatziki sauce
1C Greek yogurt
2 little salad cucumbers
salt, pepper, and lemon juice to taste


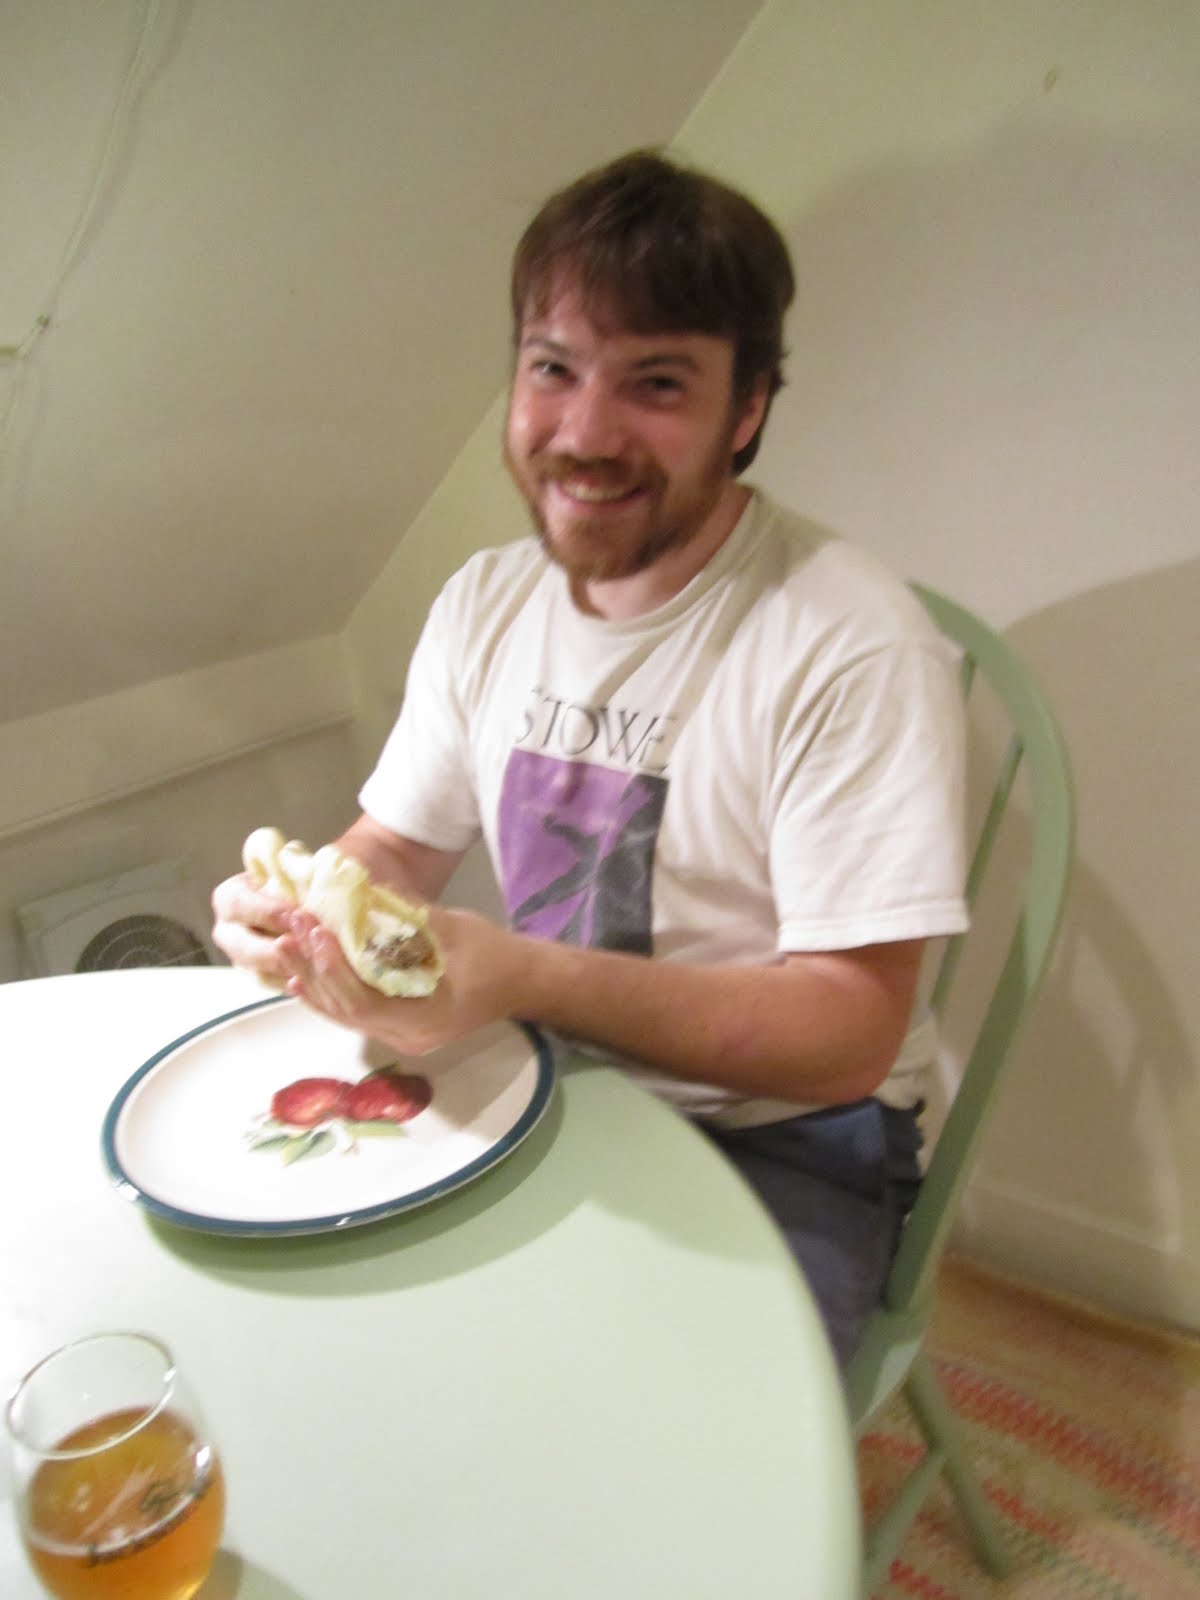
Put pita, tzatziki sauce, lamb meatballs, chopped peppers, and crumbled feta in a stack. Roll up pita, and eat! Ed is looking pretty pleased with his gyro here.
As is Ross. You can't see the drool, but he can't wait to tear into this thing. It definitely got a good Ed-rating. Most delicious!

Thursday, June 2, 2011

Roasted Chickpeas


I had a can of chickpeas lying around, and wanted to use it in a salad. But I also had the oven on, so figured I'd see what happened if I roasted the chickpeas first. I tossed them with olive oil, kosher salt, and stuck them on a baking sheet for 15 minutes, and the result was pretty delicious! They were crunchy on the outside, bean-y on the inside, and a perfect addition to a salad. Will make these again, for sure.

Wednesday, June 1, 2011

Apple Turnovers


The other day I had a hankering for apple turnovers. Knowing that we had a bunch of phyllo dough in the freezer, I figured turnovers were within my reach. I didn't count on them taking forever to make, so naturally, they took forever. First you have to make the apple filling, then you have to mess around with the phyllo dough, finally you bake the darn things. They were quite delicious, but I'm not sure they were worth the trouble, given that you can just buy puff pastry and it's the same end result.

I did sort of follow a recipe, but really that was just to get the proportions remotely close to right. My reference recipe was this one, but I only had four apples. They were big apples, though.

First, melt the butter with the sugar and the cornstarch and other stuff.

Peel, core, and chop your apples; stir them into the goopy stuff.

Then it's time to play with phyllo dough. Mine was not sealed - apparently Ed used some a while ago, and so the sheets had dried out in the freezer. They broke into thirds, pretty much immediately. Not one to be put off by uncooperative phyllo dough, I figured that instead of folding them in half and stuff, I'd just layer a couple pieces and roll them up. It worked. Between every layer (I had 3-4 layers for each turnover, which may have been too much, as they had lots of crust and I thought they needed more apples), brush on some melted butter. This takes lots of butter, but that's what makes it so delicious!


Plop about 2-3 tbs of apple filling on one end of the phyllo. Keep the other sheets covered with a damp cloth.

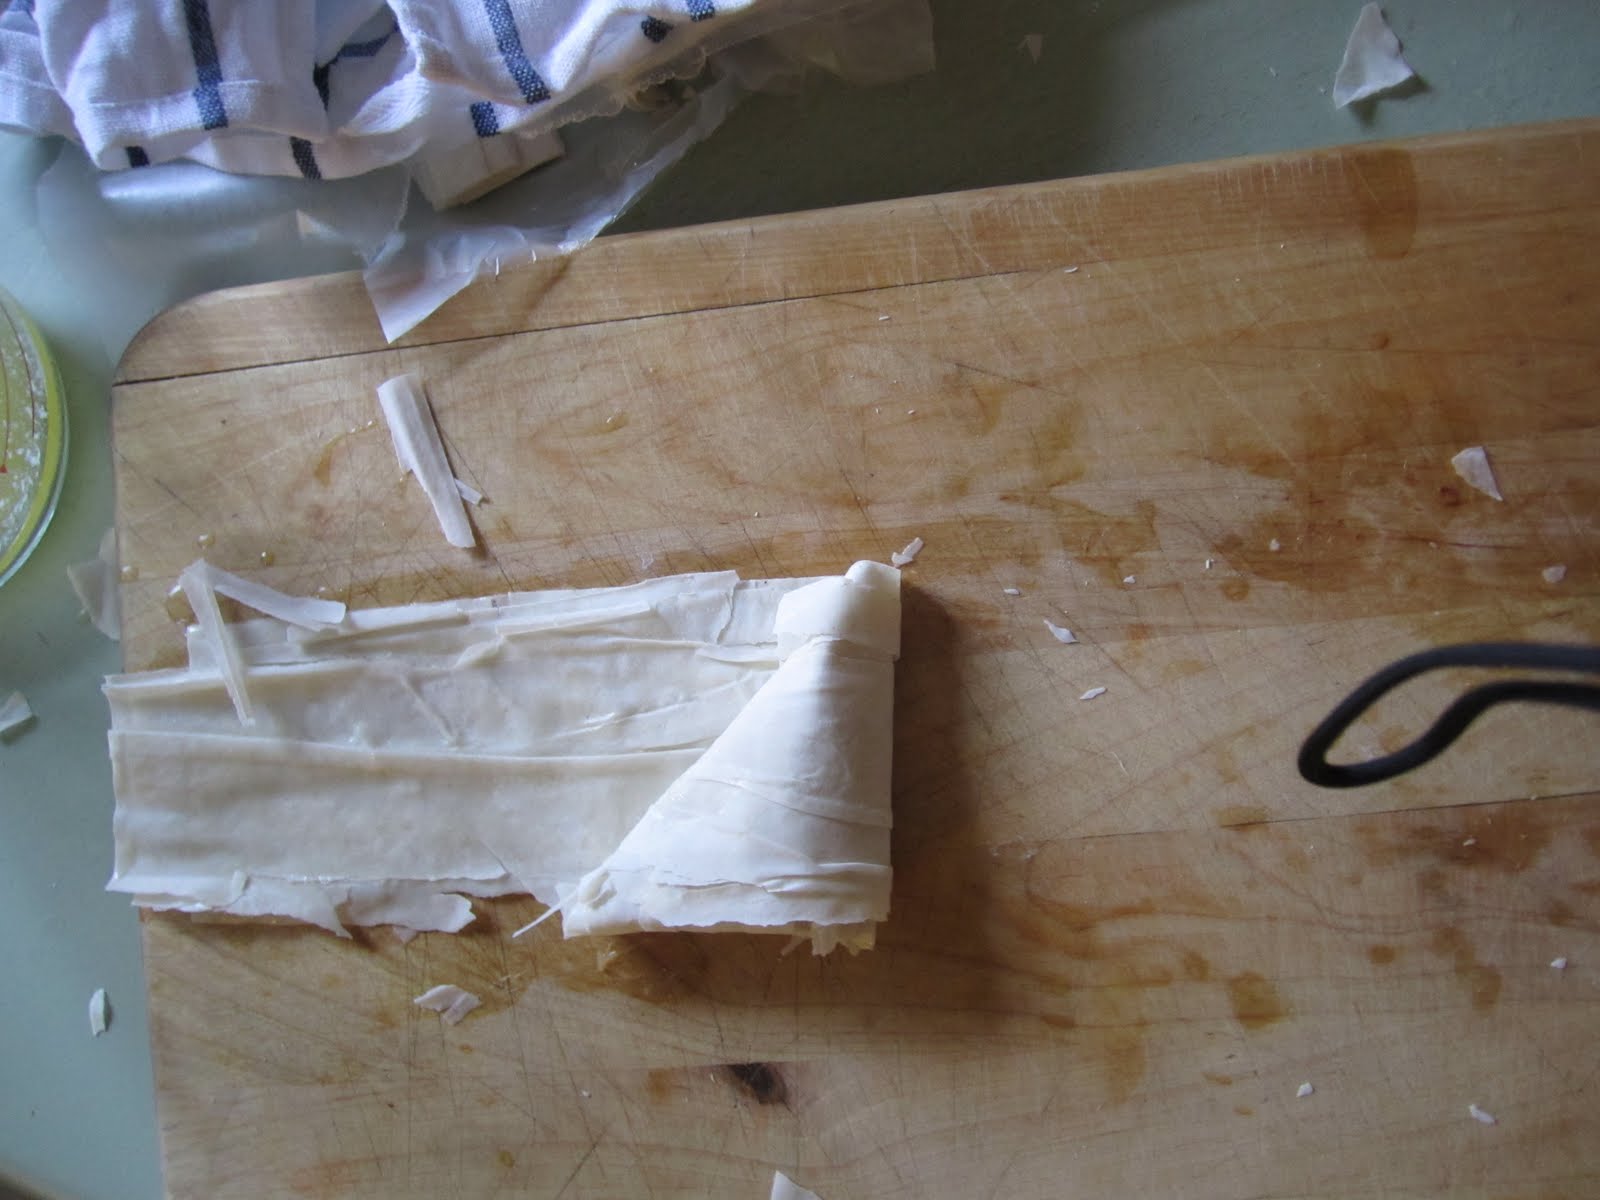
Fold the dough over the apples, to make a triangle. Roll up triangularly, like a flag.

Don't be afraid to use your fingers to push the apples back into their pocket - you want lots of apples inside. They are tasty.


Then, brush the top with more butter, sprinkle with sugar if you want, and bake at 350F for 12-15 minutes.


And then do your best to not eat them all at once when they come out of the oven. Because they have an entire stick of butter in them, and Ed might want some, too.

These were quite delicious, but next time, I'm buying puff pastry. I imagine it'll be easier to work with. But they did get an approving Ed-rating, so worth it this time!

Friday, May 27, 2011

Chocolate mint brownies


I wanted to bring Neil something baked and delicious as a thank you for all the work he put into setting team trials, mostly single handedly, but it is supposed to be five gazillion degrees this weekend, and humid. That is not good weather for wanting to eat baked goods. But I wanted something rich and chocolatey (hey, a cook's gotta taste stuff...), so I settled on mint chocolate chip brownies. Because mint always tastes cool, and brownies go down well any time. There are a lot of recipes out there for chocolate mint brownies, but I ended up mostly using this one. With lots of modifications, mostly due to what I did or didn't have in my kitchen. The end result was delicious, but I've only eaten them frozen so far. They're so good that way, I don't think I'll bother thawing them, although they'll probably thaw by the time I get them to Neil.

Chocolate Mint Brownies
Made one 9x13" pan... cut into however many pieces you want.

Brownie base:
3/4C flour
2 tbs dutch process cocoa powder
1 tsp espresso powder
1/2tsp salt
~1C chocolate (in this case, a mix of 100% dark ghiradelli, some chocolate chips, and the last of my KAF burgundy bites)
1 stick butter, cut into chunks
1C brown sugar (I don't have any white sugar right now)
3 eggs
1 tsp vanilla extract

Mint layer:
1/2 stick butter
1C confectioner's sugar
1/2 tsp mint extract
1 tsp water

Chocolate topping:
~1C chocolate (chocolate chips would do... I was scrounging for anything chocolate, and found something labeled "ooey gooey chocolate sauce (2009)" in my fridge, and it was hard, like chocolate should be, so I mostly used that. I am now out of chocolate. This is a situation that really should be remedied).
1 tbs butter

For the brownies, melt the butter and chocolate in a double boiler. Remove from heat and add the sugar, whisk to combine. Add the vanilla, and then the eggs. For the eggs, first beat them together (not a lot of beating, just enough so that they're not separate whites and yolks) in a separate bowl, then temper them with the hot chocolate, or let the chocolate cool to room temp before you add the eggs. Then sift all the dry stuff on top, and fold to combine. Don't beat or whisk, as that'll cause the eggs to work magic and turn your brownies into chocolate cake.


Preheat the oven to 325, and bake for 12-15 min, in a greased 9x13" pan. I had to cook mine for the full 15 min. Cool the brownies. I put mine on a piece of parchment paper (greased both sides), and that let me pull them out of the pan and onto another pan, for faster cooling.


For the filling, beat the sugar and butter and flavor together, until it makes frosting. Spread on the cooled brownies, and then put in the freezer so it can set up before you put on the chocolate layer. Green food coloring is optional at this point.


In the microwave, melt the chocolate and butter for the topping. Be very careful not to burn the chocolate. Use a flexible spatula to spread the chocolate on top of the green frosting. Put the brownies back in the freezer to set up before you cut them.


Cut them into squares, and eat immediately, or keep them in the freezer and eat them one at a time. They're pretty yummy.


Wednesday, May 18, 2011

Pasta. with tomato sauce.


I love pasta. Usually, a jar of tomato sauce will do the trick, but we often put all sorts of crazy stuff into sauces, and that makes pasta even more delicious. Ed decided yesterday that he wanted to make a *really good* pasta sauce, with some of his smoked andouille sausage, and good bacon, and greek yogurt. When Ed says he wants to make something that's really good, I just step back and occasionally wash dishes, because you know it's going to turn out tasty. His experiments, on the other hand...

This ended up being a really creamy, tangy, smoky, delicious sauce. He finished the pasta in the pan, so it absorbed some of the saucy goodness, and it was so good I didn't even feel the need to smother everything in parmesan cheese. I guess it helps that we're basically out of cheese.

The sauce started with:
1 onion
a couple cloves of garlic
a can of tomato paste
a lot of rosemary
olive oil
kosher salt

Dice the onion, and throw that in a pan with some olive oil and salt. Let the onion sweat, and then add the garlic and rosemary. Once you can smell it, add all the tomato paste, stir that around, and let it cook for a bit - 5 minutes?
Once the tomato paste has cooked down a bit, add a can of diced tomatoes, and a bunch of fresh basil, that's been chiffonaded.

Meanwhile, get a big pot o' water boiling, with some salt in it.

Meanwhile, chop some bacon (good bacon) - maybe 3 pieces? and get that rendering in a separate pan. Chop some andouille sausage. I think we just used one link, but it may have been two.

Once the diced tomatoes have simmered for a little bit, pour all of the sauce, very carefully, into a blender, and blend it until it's a little more smooth. In other words, no more diced tomato chunks.


Stir in about a half cup of greek yogurt. Some cream would work here, too, if you didn't have greek yogurt, but we still have a good bit of that lying around.


Add the andouille, (ours was basically pre-cooked), and some smoked maple syrup, if you're lucky enough to own any of that, or smoked paprika, if you don't have smoked syrup. Add some smoked paprika anyway.

When the pasta is almost done, grab a cupful of the cooking water, set it aside, and drain the pasta. Pour it all into the sauce, and toss it around to coat. Add the pasta water if you need to thin things out.

Serve!


Short version:
Made enough for 4-6 regular people...
1 box pasta, fun shapes if possible
1 can diced tomatoes (16oz)
1 can tomato paste (little mini can, 6oz?)
4 cloves garlic
1 onion
~1C fresh basil, chiffonaded
1 link smoked andouille sausage
3 pieces good bacon
~2tbs rosemary
kosher salt
olive oil
1/2C greek yogurt (or cream, but probably less of it)
~1tsp smoked paprika, or 1tsp smoked maple syrup

-blender

Cook down the onion, add the garlic and rosemary, add the tomato paste. Get a pot of water boiling, with salt. Chop the bacon and get that rendering. Cook the andouille sausage if it isn't already. Add the diced tomatoes and all their juice, and the basil. Use a food processor or blender to chop everything up into a sauce-like texture. Return to heat, add bacon, sausage, paprika and/or syrup, and yogurt. Stir it around.

Get the pasta cooking. When it's basically done, reserve a cup of the cooking liquid, drain the pasta, and toss it in the pan with the sauce. Add the cooking liquid to thin things out if necessary.

Serve!

Monday, May 16, 2011

Corn tortillas

Ed bought a giant bag of masa flour the other day, and we've been making corn tortillas (and we did try tamales, too) since. The fish tacos we made with Chris was here were truly delicious, but these were a different version of fish tacos. I think the fish was halibut, but any flaky white fish will do the trick. The flavors here weren't very Mexican, but it was delicious. The nice thing about home made tortillas is that they're flexible, so they actually act like tortillas should!

Corn Tortillas
Made 6
1C masa flour
1/2tsp salt
2/3C water

Put everything in a bowl, mix it around, and lump it into a ball. This'll take 5 minutes, max. Use a knife and cut the ball of dough into 6 pieces, and roll each piece into a sphere. Use a rolling pin and roll out each sphere into a tortilla-shape, about 1/8" (I think) thick - you don't want it too thin, or it'll tear.

Heat a frying pan to medium heat, and grease the pan, with butter, bacon grease, oil, whatever. Drop the first tortilla into the pan. Cook for about 2 minutes on that side, and then flip, and cook another minute. If you don't have the pan greased enough, the tortilla ends up looking too dry, but it doesn't actually taste any different, I think. Store the cooked tortillas on a plate as you finish cooking them.

It's easiest to roll them out on a silicon mat, because then it's easier to transfer them into the pan without tearing them. Clearly, I'm good at rolling round tortillas...


What to put inside? Well in this case, we went with cooked white fish (just salt, pepper, and cooked in butter), leeks (cooked down until they're soft and sort of sweet), and some purple cabbage (that thing never dies! This was cooked with salt, in bacon grease). And, of course, Greek yogurt, from the little Greek store where Ed gets the olives. So much tastier than sour cream!

Ed demonstrates how to make your tortilla. First, hold it in your hand, and spread the yogurt.

Then, put all the stuff on top. And then eat it.

I built mine on a plate, and massively over-stuffed it, as usual. Luckily, it's a taco, so you don't have to wrap it up, you just sort of nibble at the edges first until everything fits properly.

I highly recommend making these - they were simple and fast, at least for two people. and if you had a griddle for cooking them, they'd be even faster. And, most importantly - they're delicious!

Tuesday, May 3, 2011

Coconut date balls

A long time ago, I made some energy bar things with dates and coconut and almonds. They were delicious, but somewhat complicated, involving eggs and baking and stuff. I wanted to make something portable and delicious and full of calories for the weekend, and figured I'd make the coconut date balls again, but this time, without bothering to bake them. I think these turned out even better (and certainly passed the Ed-rating), and they were super easy to make. Took about 10 minutes, and most of that was wandering around the kitchen trying to find various ingredients.

Coconut date balls
Made 25 balls
1C sweetened shredded coconut
1C fresh dates (with or without pits)
1C almonds
~1tbs lemon juice
1/2tsp salt
~1/4C cocoa

Equipment: food processor.

Start with the almonds - put them in the food processor and grind them up as finely as you can, but before they turn into almond butter. Dump them in a big bowl. Dump in a cup of coconut. Take the pits out of the dates, and mash those up in the food processor, too. They should make a pretty smooth paste pretty quickly.

whole date.

Mashed dates.

Put the dates in the bowl. Add the lemon juice and salt, and then use your hands to squish everything together until it's nicely mixed. Lick your fingers afterward, because the mixture is delicious.

mmmmm.

Roll the mixture into bite-sized balls. I got 25 out of this recipe. Put about a quarter cup of baking cocoa in a shallow bowl, and roll each ball in the cocoa. Really this is just to keep them from sticking too badly to each other, I think, but it has the added benefit of making them taste like chocolate. Once they're rolled, you're good to go - you can just put them in a tupperware and they'll last for a long time (weeks? months? you be the guinea pig...), or just start eating them. I prefer them on day 2, because more of the cocoa has sunk in, so it's less powdery.


And since these are basically energy bars, I figured I should calculate out the macronutrients - each ball (if you make 25) is 65 calories, with 2.9g fat, 8.7g carbs, and 1.2g protein (40%, 53%, 7%).