Tuesday, February 8, 2011

Biscuits


Biscuits are delicious. This is Alton Brown's buttermilk biscuit recipe, from his book I'm just here for more food. Make these, they have a high Ed-rating, and are quite delicious. Also, you can have them in the oven in 10 minutes. And out of the oven in another 15.

2C flour
4tbs baking powder
1/4tsp baking soda
3/4tsp salt
1C buttermilk
1/2 stick butter, frozen

Mix all the dry stuff together. Use a cheese grater to grate the butter into the dry stuff. Use your fingertip to rub the butter into the flour for all of 37 seconds. Dump in the buttermilk, and mix just enough to combine. I sort of fold it, usually.

Now comes the tricky part. The recipes all say to knead the biscuits and then cut them into shapes, but I've always just made plops of dough. I decided to try both. In the end, I think I prefer the kind that is just dropped onto the baking sheet, because they are crispier, and I like the shaggy look. The kneaded/folded ones were too much like a dinner roll. Still light and flaky, but just less delicious.

Bake 15-20min at 400F.


Regardless of whether they're lumpy or smooth, biscuits are delicious straight out of the oven. I think that plate is biscuits is basically all I ate that day...

Wednesday, February 2, 2011

Raspberry chocolate oatmeal muffins


I wanted to make muffins, and I was thinking of making blueberry oatmeal muffins, because I'd remembered them being awesome. However, I didn't have any blueberries, and I wanted to put chocolate into the muffins. I solved problem number one by walking down to the corner store (a much faster prospect than digging out my car and attempting to get out of the driveway), but all they had by way of frozen fruit was raspberries. For $7. Yikes. But, I haven't bought any food yet this week and it's already Wednesday, so I felt like it would be ok to splurge on frozen raspberries. It was a big bag, anyway.

I walked back home with the raspberries (and milk. I'd needed milk, too.), and looked up some recipes for raspberry oatmeal muffins, and everything kept pointing back to this person's muffin recipe. I figured if enough other people liked her recipe, I'd follow it, too. The big difference between her muffins and the kinds I usually make is that she was making a butter muffin instead of an oil muffin. I find butter to be too many extra steps, but at least this recipe was just melting it, as opposed to creaming it or some other labor-intensive process. The end result was delicious, but raspberries and chocolate are a match made in heaven, so I was sort of expecting deliciousness. Its not a very sweet muffin, but again, the raspberries and chocolate take care of that. I've posted the recipe below, but I followed the original one almost exactly. Almost. I am incapable of following a recipe as it's given to me...

Raspberry chocolate oatmeal muffins
Made 12 big muffins

1 egg
1/2 tsp vanilla extract
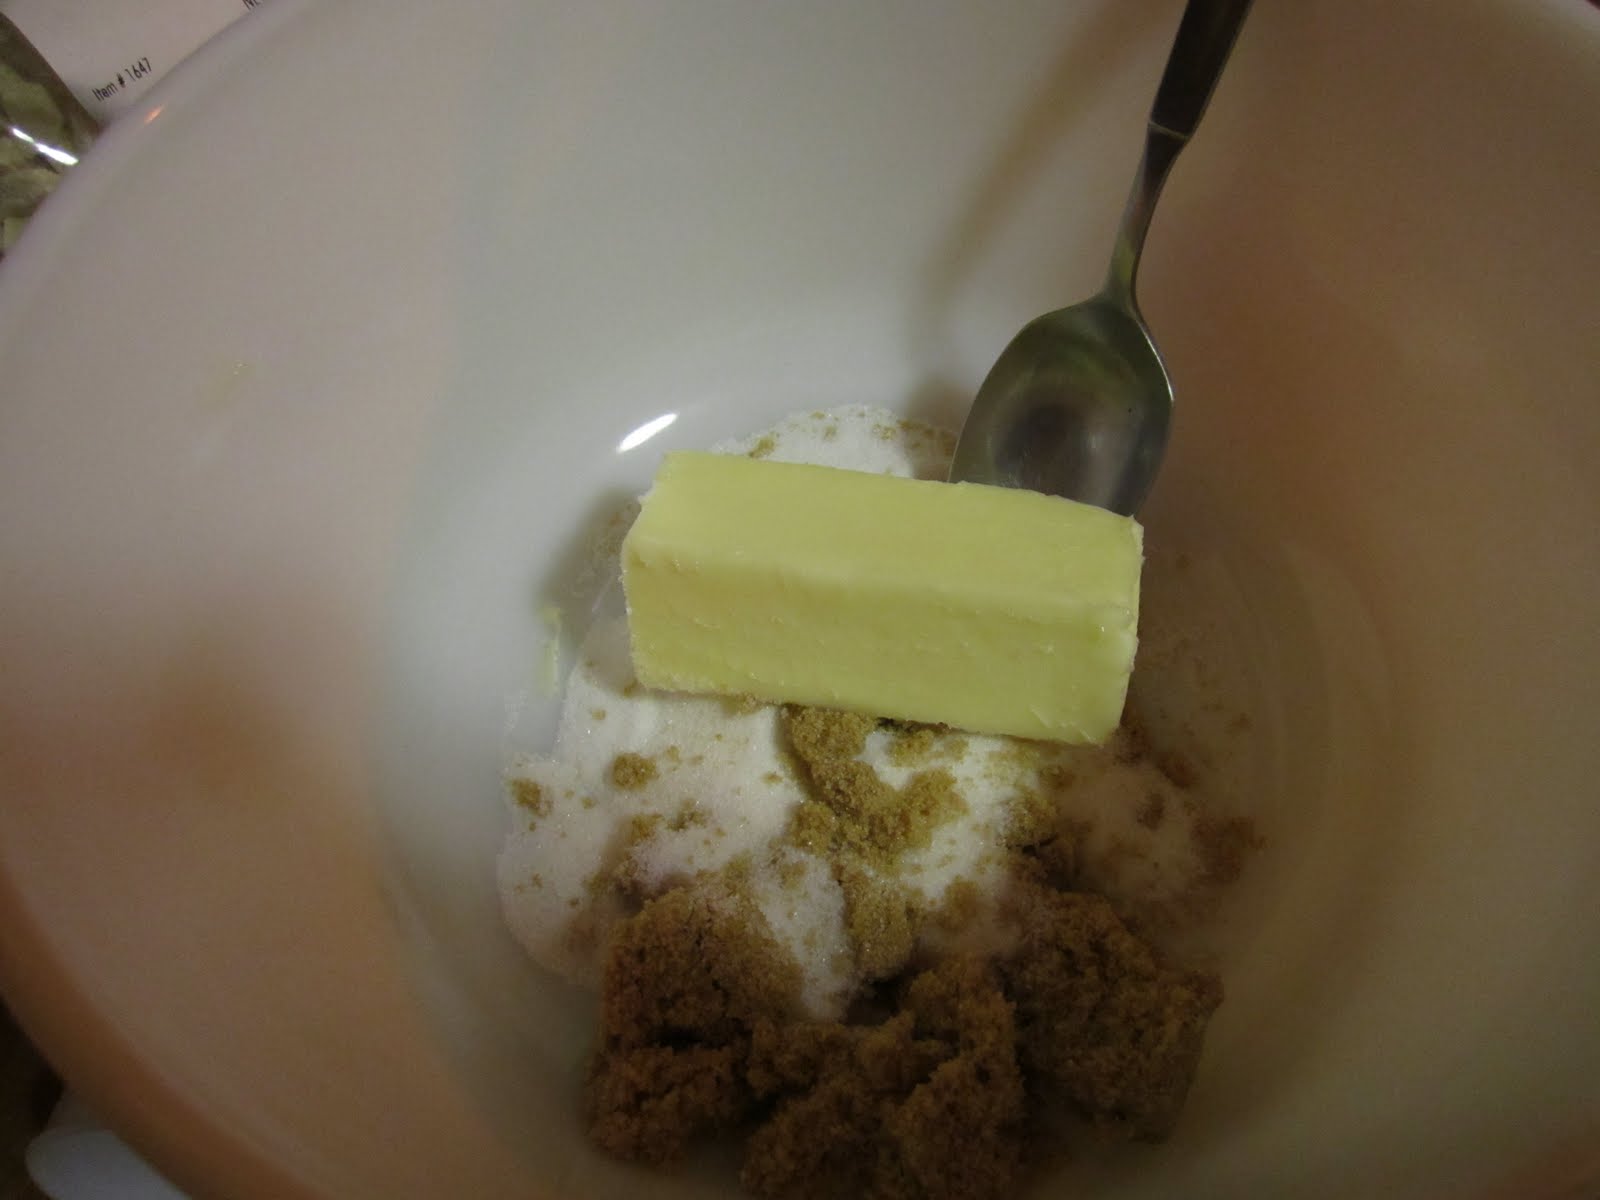
1/4C sugar
1/2C (1 stick) butter, melted
1C milk
1C rolled oats (not quick oats)
1tsp lemon juice
1/2C white flour + 2 tbs white flour
1/2C whole wheat flour
1/2tsp salt
1tsp baking powder
1/2tsp baking soda
some cinnamon
1C frozen raspberries
1/2C chocolate chunks

Combine the oats and milk and lemon juice in a bowl, and let it sit. The original recipe said let it sit 1hr, I got impatient at 30min, and that was just fine. Buttermilk is an acceptable substitute for milk+lemon juice (which should be vinegar, anyway, but I didn't have any).

Preheat your oven to 375F.

Melt the butter.

Put the egg, vanilla, sugar, and butter into the bowl with the milk and the oats. Stir that around thoroughly. Dump all the dry goods (flour, salt, baking soda, baking powder) on top, and mix those around lightly so they're uniform before you fold them in to the wet stuff. Add the raspberries and chocolate, and fold that into the batter. Don't overmix things.

Put the batter into lined muffin tins, and bake for 25-30min. I think mine took just about 30min, the raspberries add a lot of moisture. The muffin tops will be golden brown, and spring back when you poke them, when they're done. Remove to a cooling rack, and enjoy!


The muffins were really crumbly, but, moist and delicious at the same time, if you can get your head around that. Mostly, they were just awesomely raspberry-y and chocolate-y, which is what I was going for.

Pitas

After our lettuce pitas the night before, I decided to make some actual pitas for lunch, so we could put our leftovers from last night into fresh pitas. I followed this recipe, and it worked beautifully. Didn't take too long, either, which was nice.


Pitas
3C flour
1.5tsp salt
1 tbs sugar
1 tbs yeast
1 1/3C warm water
2 tbs olive oil

Put the warm water in a bowl, add your yeast and sugar, and let it sit for five minutes or so to proof the yeast. Then dump in everything else, stir it until its mixed, and dump that lot onto a floured table or some other surface for kneading. Flour your hands, and knead the dough for 5-10 minutes continuously. I set a kitchen timer for that sort of thing. When you're done, the dough should feel wonderfully elastic and stretchy, and smooth.

Grease a bowl, and let the dough rise somewhere warm (mine went near a radiator) for an hour. The original recipe called for longer, but I was hungry. The dough should have doubled in bulk by then, if not, let it keep rising for a while. Once it's doubled in bulk, dump it back onto that floured surface, and cut it into 8 pieces with a knife. Roll each piece into a round ball, and let those sit while you pre-heat the oven to 400F.


Once the oven is warm, roll out the first ball into a flat pizza shape. Don't roll it too thin, just pretty thin. Put one to two pitas on a baking sheet at a time, and bake for 5-8 minutes, until they're really poofed up.
You don't want them to get too brown, because then they'll be crispy instead of soft and pliable.

Let them cool for a little bit, and then cut them in half and proceed to stuff them with things. Here we have leftovers from the lettuce pitas from last night. Quite tasty. Although according to Ed, I overstuff my pitas.


Ed's version of a pita. Not nearly enough stuff inside.

Tuesday, February 1, 2011

Lettuce pitas

Ed is admonishing me to post more recipes more often, since I keep taking photos of things but not doing anything with them. I'll try to upload some of our yummy meals in the next few days. I've sort of given up on the whole tasty-healthy-cheap idea for now - not that everything I cook isn't at least one of those adjectives, and often two, but given that I'm only in Amherst for two nights a week, I'm not buying food for myself as often. Mostly, I steal food from our fridge at home, and brave Ed's wrath when he discovers all the kale has gone missing out of the fridge. At least I don't take his beer...

Anyway, Ed had gone to Russos and gotten lots of veggies, but he called me up as I was driving home from Amherst and asked me to pick up something bloody from the store. I stopped by Whole Foods, because they have yogurt pretzels in the bulk section (not that I'd ever sample from the bulk section), and they had some top round (I think?) that was relatively cheap and looked pretty good. I want to say it was around $5/lb, which puts it on par with hamburger when you're looking at the WF meat case. Anyway, half a pound of that went pretty far, since we ended up slicing it.
*drool*

We both decided pitas would be just the thing, but, we had neither pitas nor the patience to make some. So, we made lettuce pitas, and that worked out pretty well. Sort of interesting, but very tasty, and pretty healthy too.

The stuff for inside: steak (boy is that cooked perfectly), tomatoes, onions, mushrooms, and a sort-of-tzatziki sauce that Ed had made a day or two before.

The tzatziki is the only real recipe, and being an Ed-recipe, all quantities are approximate...
Combine: greek yogurt, diced feta cheese, diced cucumber, lemon juice, olive oil, salt, and pepper. I think that is more or less in descending order of quantities, but just keep tasting it until it tastes tangy and creamy and salty and delicious.

The mushrooms are giant oyster mushrooms (we get them from Russos - they're like $3.98/lb, which is actually the same price as the white button mushrooms, and they taste way better. Score!), sauteed in butter and kosher salt. The onions have just been sliced and cooked for a while until they're just starting to caramelize.

Lay your stuff on the fatter end of the lettuce leaf, and try not to over-stuff, because lettuce breaks. Cabbage might have been better, but we only had redleaf lettuce.

Roll it up, attempt to seal it shut, and eat!

Tuesday, January 25, 2011

Ribs and mousse


I've never made ribs before, and neither has Ed, but we were thinking it was about time to use up the ribs that have been living in our freezer all fall. We took them over to Ross and Sam's place, and after a long day of playing in the snow, they were an excellent thing to have for dinner. I don't remember exactly what we put in the pot, but I don't think it actually matters that much. Ed chopped the ribs into rib segments, or maybe it was two-rib segments, and put them in the dutch oven. We covered them with a container of turkey stock (from thanksgiving, good stuff), a can of tomatoes, and a whole slew of other spices, including cayenne and bay leaves (and other stuff I don't remember). I think we also had an onion and some garlic in there, and a good bit of cumin.

After that simmered away for about two hours, maybe three, the meat was basically falling off the bone. Delicious.

Ed made a bbq sauce, and I have no idea what he put in that but it was quite tasty, and I'm sure you could use something store-bought to the same effect, more or less. He slathered the ribs with bbq sauce, and then broiled them in the oven until the sauce started to caramelize. I don't know if he flipped them, I don't think he did. Anyway, the end result was delicious. I highly recommend it.

We also took the leftover turkey stock juice stuff and used it as liquid for the rice, like a dirty rice sort of thing. That was also delicious.


Also, Ross and Sam fed us mousse. It was utterly delicious, and they used this recipe. They actually follow recipes, so you can just use the same one. So good. I seem to have it backwards, though, and I'm trying to eat the glass, rather than the mousse. Don't worry, eventually I figured it out. Turns out a spoon was easier.

Wednesday, January 19, 2011

Stuffed endive leaves


Ed had an idea to stuff endive leaves with stuff, and I thought it was a good idea, so took pictures as we did it. The filling was a mixture of ground pork, roasted red peppers, onions, and garlic, with a little salt and pepper. We put those onto the scoopy part of an endive leaf, and placed them artfully around a pile of rice. The rice got cooked with a spoonful of yellow curry paste, which made it quite tasty.

While the endives were pretty and all, the pork mixture really just tasted best when eaten with the rice. At least we tried it both ways!

To roast the red peppers, cut your pepper into strips, and place skin side up, on a baking sheet. Broil for 5-10 minutes, until the skin is all blackened and bubbled. Take out the peppers, let them cool, and then peel off the skin with your fingers.


On an aside, Ed put the weather station thingy that had been sitting collecting dust for a few years outside, finally, and in the process extracted a sweet icicle. Luckily, the tip fell off before he could attack me with it.

Tuesday, January 18, 2011

Espresso white chocolate macadamia nut cookies


I love these cookies. The espresso powder was a last minute thing, but I'd been scheming to make white chocolate macadamia nut cookies for a while, I had the macadamia nuts, I just needed to acquire a tasty enough white chocolate. The Ghiradelli chips I have don't taste quite right, I can't figure out what it is about them, but I'm not a huge fan. Anyway, Ed's mom came through in a big way for Christmas, and gave me some sort of chocolate-lover's pack from King Arthur Flour, it had fancy cocoa powder, mini chocolate chips, fancy chocolate chunks, espresso powder, and fancy white chocolate chunks. Perfect. Paired with the jar of macadamia nuts from my mom, I was all set.

The espresso powder made the cookies a bit darker than they'd normally look, but its tasty - adds a bit of a kick. I got the idea after eating one of Sam's truffles that she gave us for Christmas that was white chocolate and espresso. Not necessary, but worth it if you have it.

I found the recipe for these guys online, and decided to halve it, since I'm one person. It seems to have worked, so I'm posting my halved recipe.

Espresso white chocolate macadamia nut cookies
Made 12 big cookies

1C flour
1/4tsp baking soda
1/4tsp salt
6 tbs butter
1/4C brown sugar
1/4C white sugar
1 egg
1 tsp vanilla
1 tsp espresso powder
3/4C white chocolate chunks
1/2C macadamia nuts

Preheat your oven to 325F.


Cream the butter and sugar together.

Once the butter is light and fluffy, add the egg and the vanilla. Then stir in all the dry stuff on top.


Once you've mixed together your dough, dump in the nuts and chocolate - it was about equal parts dough and chunky things.

Spoon the cookies into 12 equal-sized piles on the baking sheet.

Bake for 10-14 minutes, and take them out before there is any goldenness around the edges - you want them to be soft and chewy.

These ones rose a lot, and I think I want them flatter. I'm going to try less baking soda next time, although I'm almost out of nuts, so there might not be a next time. Or I could flatten them a bit more. Either way, they are delicious.